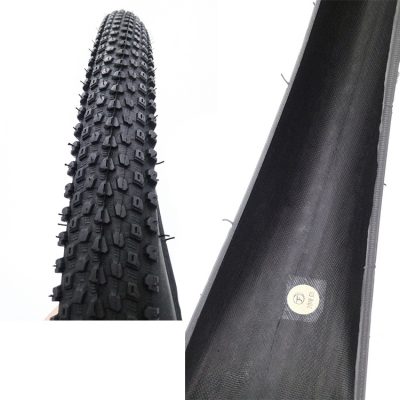
First, after the bead is fully seated, prepare to add tire sealant
-Deflate the tire and fix the bead in the rim
—Use the valve core tool to remove the valve core from the valve stem
—Use a tire sealant syringe to inject tire sealant into the tire through the valve stem
—Add the recommended amount of tire repair fluid in the syringe
-Screw the syringe onto the valve stem and place the valve stem at the 3 o’clock or 9 o’clock position. Slowly push the syringe to add tire sealant to the tire. After filling, release the syringe locking device.
—Use the valve core tool to reinstall the valve core and make sure that the valve is open.
—If you don’t have a convenient tyre sealant syringe, you can also use a 3 oz tyre sealant bottle to inject the tyre sealant into the air valve through the tip of the bottle mouth.
Finally, ensure that the tire repair fluid is evenly spread in the tire
-Re-inflate the tire to the recommended pressure
—After inflation, hold the tire at a 45-degree angle, squeeze all the tire repair fluid on the bottom, and then rotate the tire up and down to evenly distribute the tire repair fluid on the entire tire. Rotate the tire slowly to ensure that the tire interior is also evenly coated with tire repair fluid. Seal the inside of the tire to ensure optimal performance.
—Clean up all the spilled glue, and then reinstall the wheel on the bicycle. Now you are ready to hit the road!
—Expert tip: It is recommended to check the sealing condition of the tire sealant regularly and replace it when necessary to ensure the best performance. Riding in a hot and dry environment, the tyre sealant will quickly dry out, and it may be necessary to replenish the tyre sealer every three months. When adding tyre repair fluid, the tyre repair fluid should be able to flow freely on the inside of the tire to ensure that the entire inside of the tire is covered. Otherwise, it will be difficult to maintain the air pressure, and the leak cannot be properly sealed.


